Recipe Details
Prep Time
15 minutes
Chill Time
4 hours
Servings
8 servings
Ingredients
- • 4 large egg yolks, cold straight from the fridge
- • 2 teaspoons vanilla extract
- • 1/4 cup heavy cream, cold straight from the fridge (see note below for the brand)
- • 1/2 cup granulated sugar, (100g)
- • 1/4 teaspoon kosher salt
- • 16 ounces mascarpone, (from 2 containers) cold straight from the fridge (see below for note on the brand you're using)
- • 24 ladyfingers, (from a 7-ounce package)
- • 2 cans of store bought cold brew coffee (9 fluid ounces each). These should be black unsweetened coffee.
- • 2 tablespoons unsweetened cocoa powder, this will be sifted into the tiramisu and added on top as a topping
Instructions
To Make the Filling:
-
1
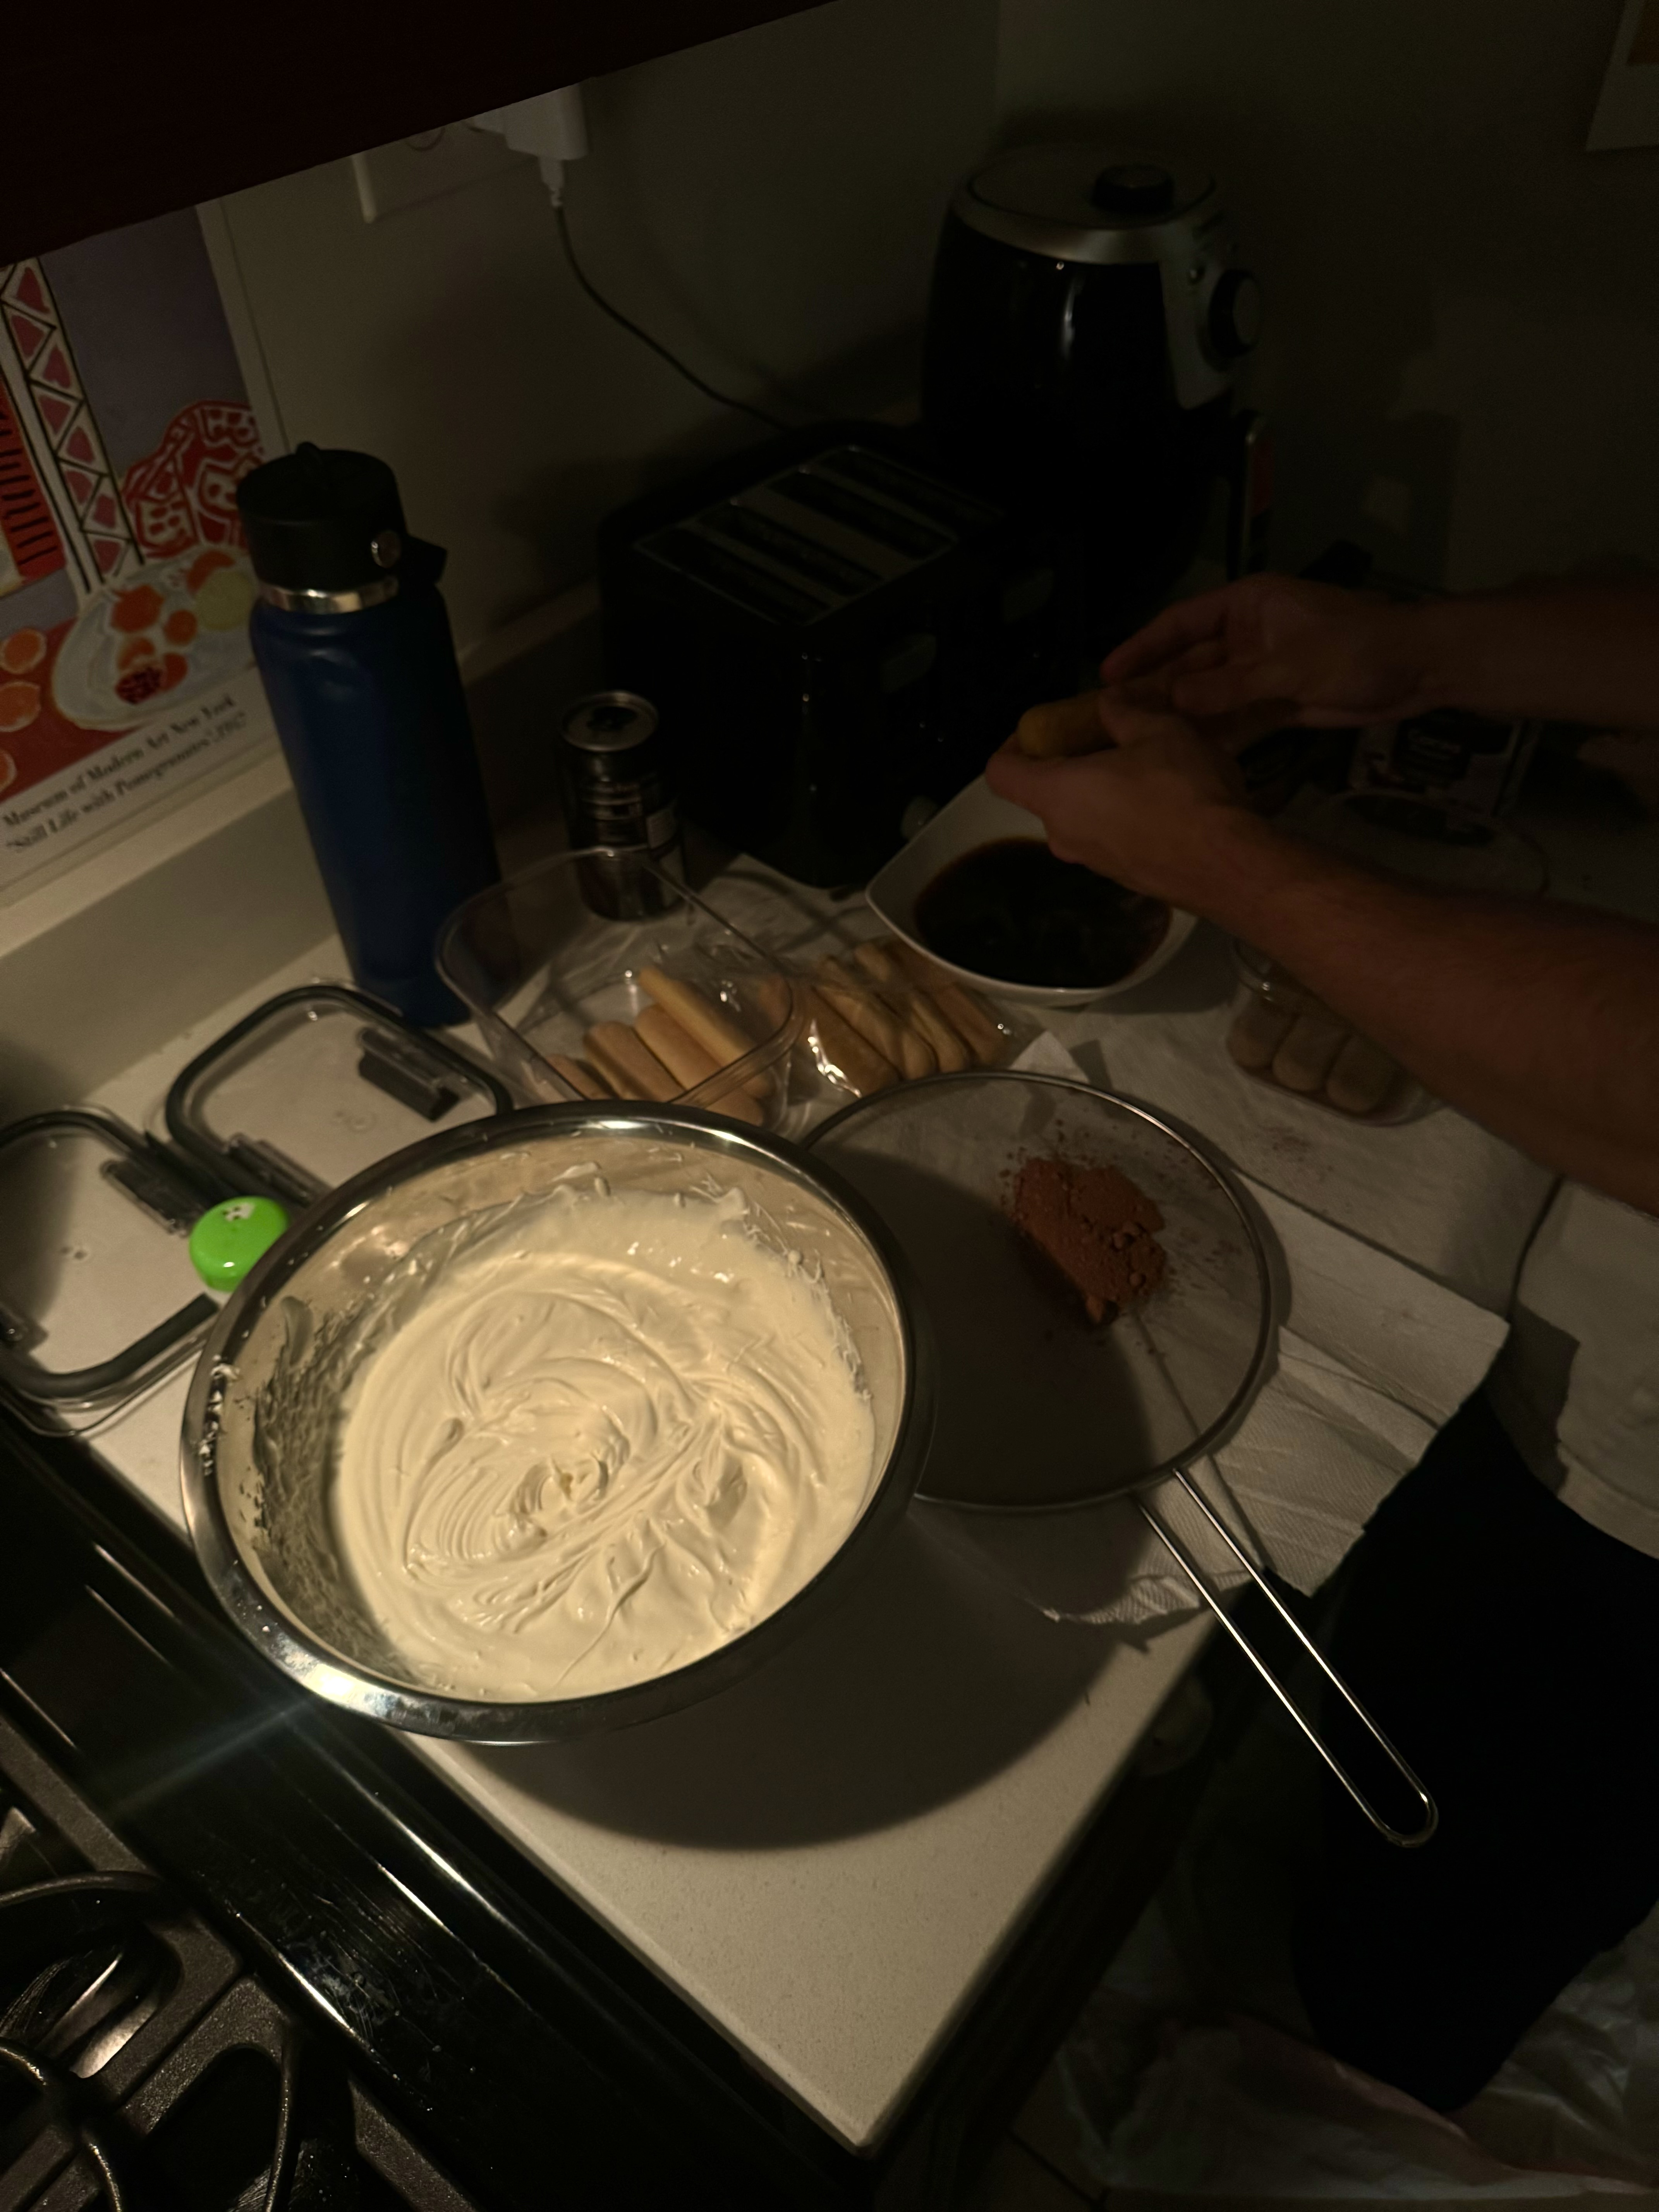
In the bowl of a stand-up mixer fixed with the paddle attachment (or a large bowl with an electric hand mixer), add the egg yolks, vanilla extract, sugar, kosher salt, and mascarpone.
-
2
Beat all the ingredients listed in the previous step together for 1 minute; scrape down the sides and then beat again for an additional minute, being sure NOT to over beat it. Stick to the two minutes total.
To Assemble the Tiramisu:
-
3
Grab your baking dish or whatever you will be putting this in and gently sift a layer of cocoa powder onto the bottom of the dish. You will know you have a layer when you can't see the color from the disk through the layer of cocoa powder
-
4
Transfer the store bought cold brew coffee to a medium and or small bowl. Working one at a time, quickly dip each lady finger into the coffee. Be sure to not over saturate the ladyfinger with the coffee because then they'll get a bit too soggy. All you need is a quick dip into the coffee. Arrange the dipped ladyfingers in the baking dish, side by side. You can fill the empty spaces by snapping some of the lady fingers into different lengths.
-
5
Add a few scoops of the filling on top and spread into a 1/4-inch thick layer. Add more filling if you need to. You should not be able to see any of the lady fingers from the top after the cream is placed and spread.
-
6
Now dust another layer of cocoa powder onto the layer of filling. You'll know you have a good enough layer once you can't see the filling underneath.
-
7
Now we will repeat what we did on step 4. Working one at a time, dip each lady finger into the coffee just as you did before and arrange them in the baking dish. Be sure to fill in any gaps with snapped pieces.
-
8
Now we will repeat what we did for step 5 and 6. Add a few scoops of the filling on top and spread into a 1/4-inch thick layer. Add more filling if you need to. You should not be able to see any of the lady fingers from the top after the cream is placed and spread. Now dust another layer of cocoa powder onto the layer of filling. You'll know you have a good enough layer once you can't see the filling underneath.
-
9
Repeat this process one more time so that they're three layers of ladyfingers total. Ladyfingers first, then the filling, and finally dust the top with one final layer of cocoa powder.
Final Layering Diagram (Bottom to Top)
↑ Read from bottom to top ↑
Step 9 is the what makes my tiramisu special and unique. Most recipes do not a third level and the added cocoa powder, but it's crucial for an amazing tiramisu.
Cover the dish with plastic wrap so it hits the surface of the tiramisu; transfer to the fridge to chill for at least 3 hours, ideally overnight. This step is CRUCIAL. You must let it sit or else you will just have a goopy mess of wet lady fingers and cocoa powder.
Notes & Tips
- • Brands of Mascarpone: If you're using Whole Foods brand of mascarpone, decrease the heavy cream to 1 tablespoon. A lot of people have said it's really runny. I haven't used it. But the mascarpone I use is always super thick (jewel or aldi brand will be good). So if your mascarpone is thin and runny, definitely decrease the heavy cream amount.
- • Tips on Texture: In order to achieve a nice, smooth filling EVERYTHING needs to be cold. That way it all emulsifies well together. Not room temperature whatever you do. Straight from the fridge-cold.
- • If the mixture is a bit runnier than what you expect, no worries. Proceed with assembling the recipe; the mixture will thicken as it chills overnight in the fridge.